Screen recording in iphone is very useful. Because we do many things in the phone itself and sometimes there is a need to record them. In such a situation, if you do not know how to record screen in iphone, then you may be at a loss.
Because of this, in this post we will tell you how you can record screen in your iphone. Along with this, we will also tell about recording screen with sound.
Screen recording on an iPhone can be a useful tool for creating tutorials, recording gameplay, or capturing important moments. Here’s how to screen record on an iPhone:
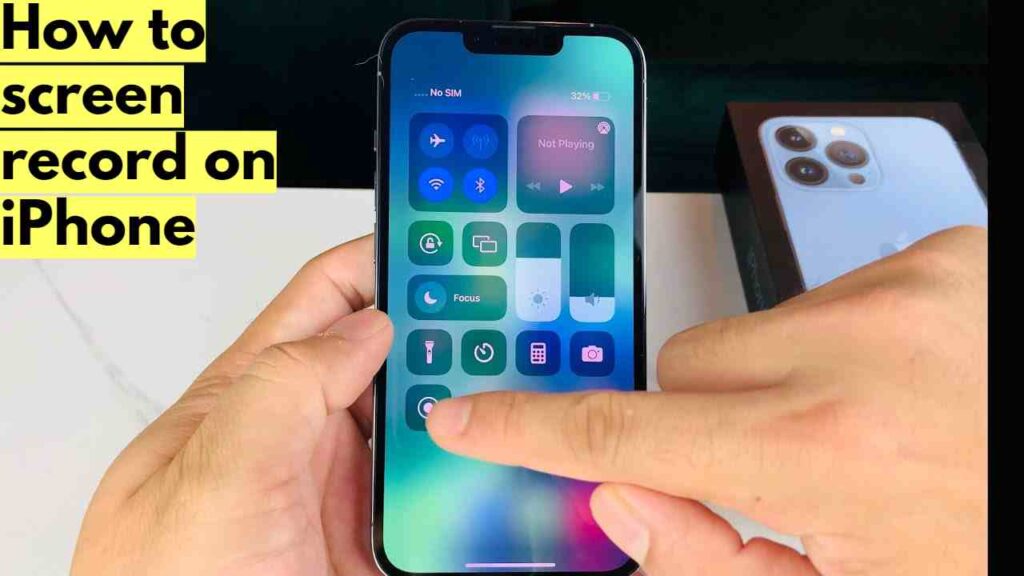
- Open the Control Center: On an iPhone with Face ID, swipe down from the top-right corner of the screen. On an iPhone with a Home button, swipe up from the bottom of the screen.
- Tap the Screen Recording button: The Screen Recording button looks like a circle surrounded by another circle. If you don’t see the Screen Recording button, you may need to add it to your Control Center by going to Settings > Control Center > Customize Controls.
- Start recording: After tapping the Screen Recording button, you’ll see a countdown timer. You can also choose to record your voice or other audio by pressing and holding the Screen Recording button and then tapping the microphone icon.
- Stop recording: To stop recording, tap the red recording indicator in the top-left corner of the screen. Alternatively, you can open the Control Center and tap the Screen Recording button again.
- Save and share your recording: Once you’ve stopped recording, the video will be saved to your Camera Roll. You can access it by opening the Photos app. From there, you can edit, trim, and share the video as you would any other video on your iPhone.
Keep in mind that screen recording may not be available in all apps, and some apps may restrict screen recording for security or privacy reasons. Additionally, if you’re recording sensitive information, be sure to take appropriate security measures to protect your data.
how to screen record on iphone with sound
- Open the Control Center: On an iPhone with Face ID, swipe down from the top-right corner of the screen. On an iPhone with a Home button, swipe up from the bottom of the screen.
- Tap the Screen Recording button: The Screen Recording button looks like a circle surrounded by another circle. If you don’t see the Screen Recording button, you may need to add it to your Control Center by going to Settings > Control Center > Customize Controls.
- Press and hold the Screen Recording button: When you tap the Screen Recording button, you’ll see a countdown timer. Before the timer ends, press and hold the Screen Recording button again. This will open the Screen Recording options menu.
- Enable microphone audio: In the Screen Recording options menu, tap the microphone icon to enable audio recording. You should see the icon turn red, indicating that audio is being recorded.
- Start recording: Once you’ve enabled audio recording, tap Start Recording. You’ll see a three-second countdown, and then the screen recording will begin.
- Stop recording: To stop recording, tap the red recording indicator in the top-left corner of the screen. Alternatively, you can open the Control Center and tap the Screen Recording button again.
- Save and share your recording: After you stop recording, the video will be saved to your Camera Roll. You can access it by opening the Photos app. From there, you can edit, trim, and share the video as you would any other video on your iPhone.
Keep in mind that recording audio from other apps or sources may be subject to copyright or other legal restrictions. Be sure to obtain permission or use only content that is in the public domain or licensed for reuse. Additionally, if you’re recording sensitive information, be sure to take appropriate security measures to protect your data.
how to screen record on iphone x
- Open the Control Center: Swipe down from the top-right corner of the screen to access the Control Center.
- Locate the Screen Recording button: In the Control Center, you will see various options. Locate the Screen Recording button, which looks like a circle with a dot inside.
- Start the screen recording: Tap the Screen Recording button to start the screen recording. If you have not recorded before, you may need to customize the Control Center and add the Screen Recording button.
- Confirm the recording: After tapping the Screen Recording button, you will see a three-second countdown. The screen recording will begin once the countdown ends.
- Stop the recording: When you are done recording, tap the red recording icon in the top-left corner of the screen. Alternatively, you can swipe up from the bottom of the screen to open the Control Center and tap the Screen Recording button again to stop the recording.
- Save the recording: The recorded video will be saved to your Photos app. You can access the video by opening the Photos app and navigating to the Camera Roll.
Note that you can also enable or disable the microphone while recording by pressing and holding the Screen Recording button and then tapping the microphone icon to turn it on or off. Additionally, some apps may not allow screen recording due to security or privacy concerns, so you may not be able to record the screen in certain apps.
Conclusion
Screen recording on iPhone is very useful. We can use it for various purposes. Such as creating tutorials, recording gameplay or capturing key moments. For this reason, we told you in this post that how you can do screen recording on your iPhone.